
How to Customize Domain Name Resolution on iOS — Like Editing Your Hosts File
I was once tormented by DNS resolution issues at a previous job.
Our project used the same domain for both production and staging environments. When we needed to route the app's traffic to the staging environment, we had to change the domain resolution. On a desktop, you can simply tweak the system hosts file and be done. But on iOS, sandboxing and security restrictions make directly editing hosts impossible.
At the time, we worked around it by pointing the Wi-Fi DNS server to a custom DNS server. However, we kept running into these pain points:
- DNS caching means every change requires flushing the cache and restarting the app.
- Because of caching, you can only tell if the new DNS resolution has taken effect by inspecting the API responses.
- Switching the Wi-Fi DNS server every time is a hassle.
- Changing the DNS server can mess with other apps on your phone.
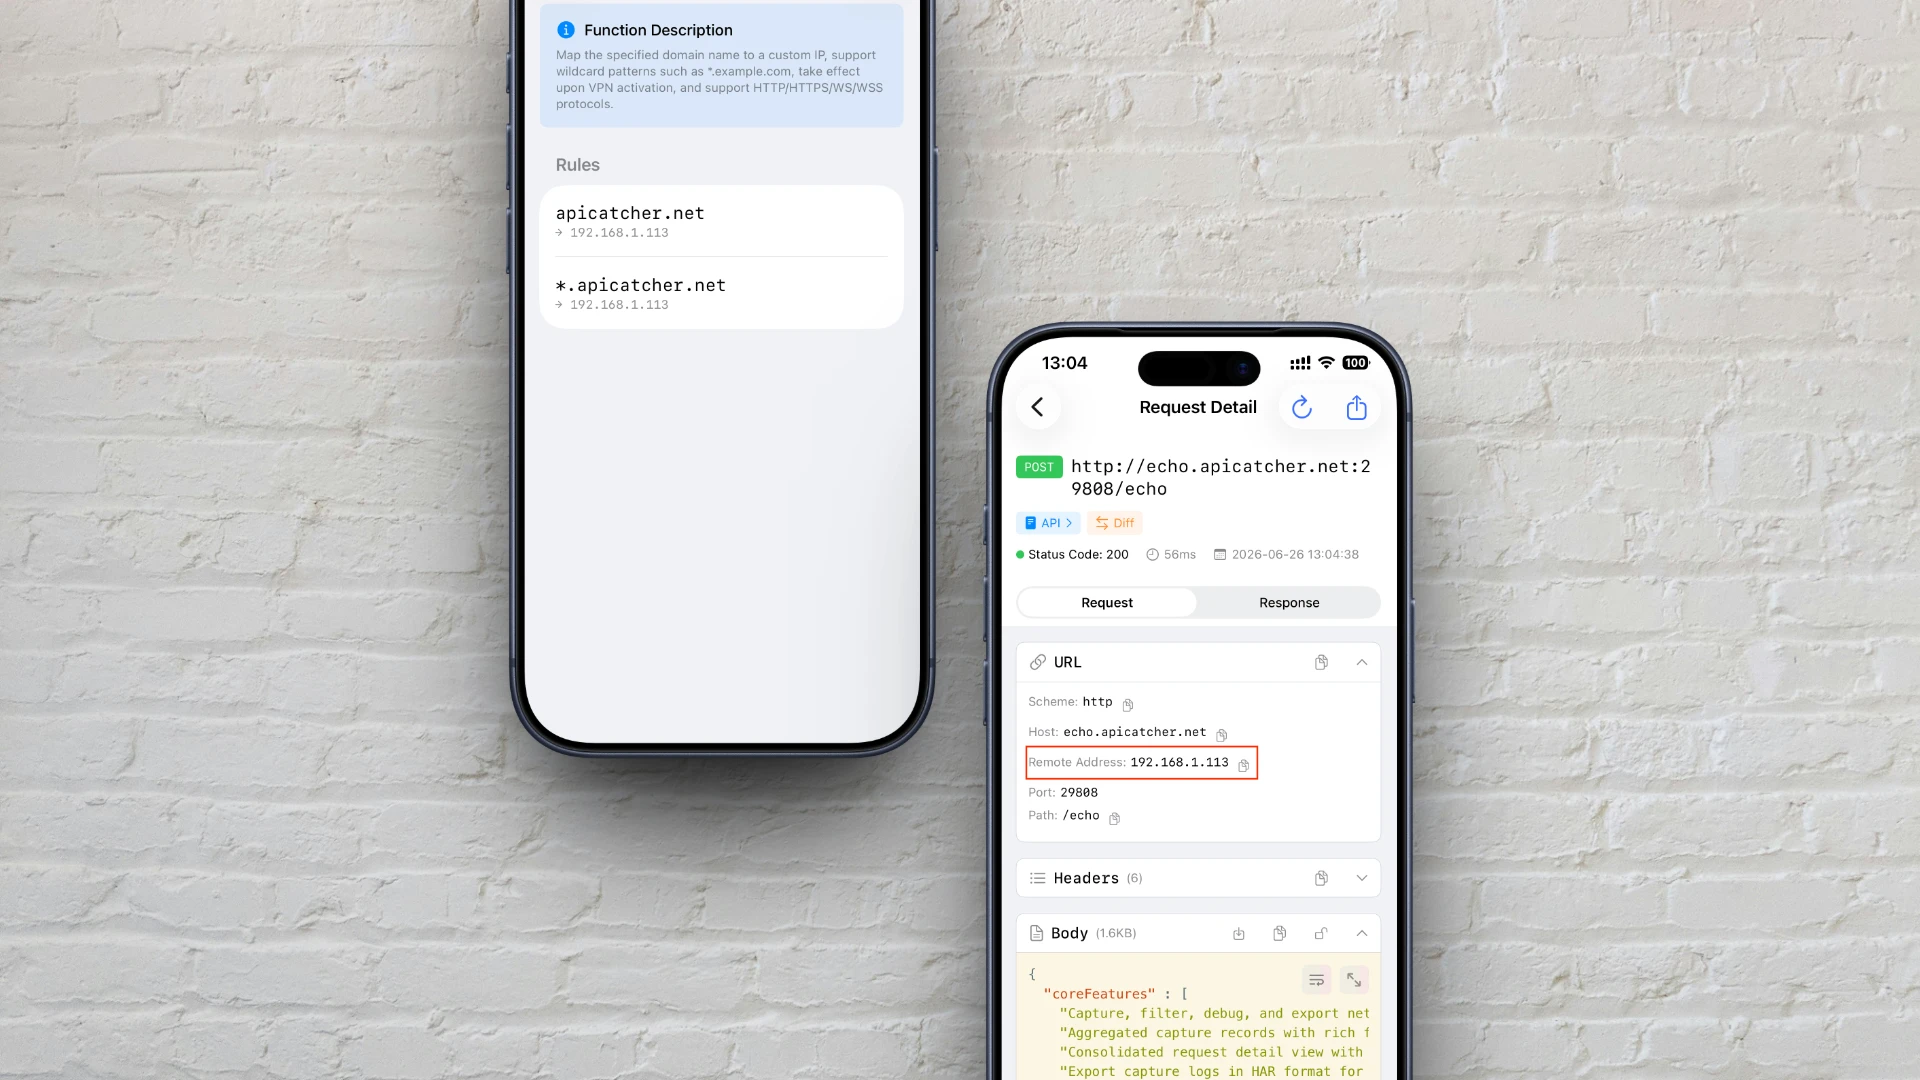
To solve all of these issues, we built a DNS spoofing feature into ApiCatcher called "DNS Mapping", which essentially gives you "custom hosts" on iOS — redirecting specified domains to custom IP addresses.
How DNS Mapping Works
Since you can't modify the iOS system hosts file, how does ApiCatcher manage to alter domain resolution?
Under the hood, it intercepts and redirects traffic during the TCP connection establishment phase at the proxy layer:
- Traffic capture: When you start packet capture in ApiCatcher, all HTTP/HTTPS requests from apps on your phone flow through a local VPN tunnel and pass through ApiCatcher's local proxy server.
- Proxy-layer host interception: When an app attempts to connect to a target domain (e.g.,
echo.apicatcher.net), the proxy server checks its local DNS mapping rules before initiating the actual TCP connection. - Physical IP swap: If a mapping rule matches, the proxy server bypasses public DNS queries entirely and establishes the TCP connection directly to your specified IP.
- Transparent to TLS handshake: Since the IP substitution only happens at the TCP connection layer, the HTTP
Hostheader and the TLS SNI (Server Name Indication) remain untouched. This means strict HTTPS handshakes and client-side certificate validation still pass through normally — completely transparent and seamless for the app.
How to Configure
-
Open the ApiCatcher app, tap the 「+」 button at the top of the home screen, then select DNS Mapping from the popup menu to enter the DNS Mapping configuration page.
-
Tap the 「+」 button in the top-right corner to create a new rule:
- Domain: Enter the domain you want to map. Wildcards are supported (e.g.,
*.apicatcher.netmatches all subdomains). - IP Address: Enter the IP of the target server or your local machine.
- Domain: Enter the domain you want to map. Wildcards are supported (e.g.,
-
Start capturing and it takes effect immediately Go back to the home screen and tap the start button to launch the proxy service. From that moment on, all matching requests on your phone will be automatically routed to the target IP you configured. If you only need DNS mapping without packet capture, you can set up host whitelist/blacklist rules instead.
Changes to DNS mapping rules are applied instantly as long as packet capture is running.